Create and Configure New Client in Fleet
This article explains how to create a new client within the system. You will learn how to configure client settings, add distributors, and create user accounts to manage the client effectively.
Go to fleet.munic.io
1. Navigate to Organization Tab
Once you're logged in, you need to go to organization tab to create a new customer.
2. Select Your Fleet Location
Choose your Fleet to associate with a customer.
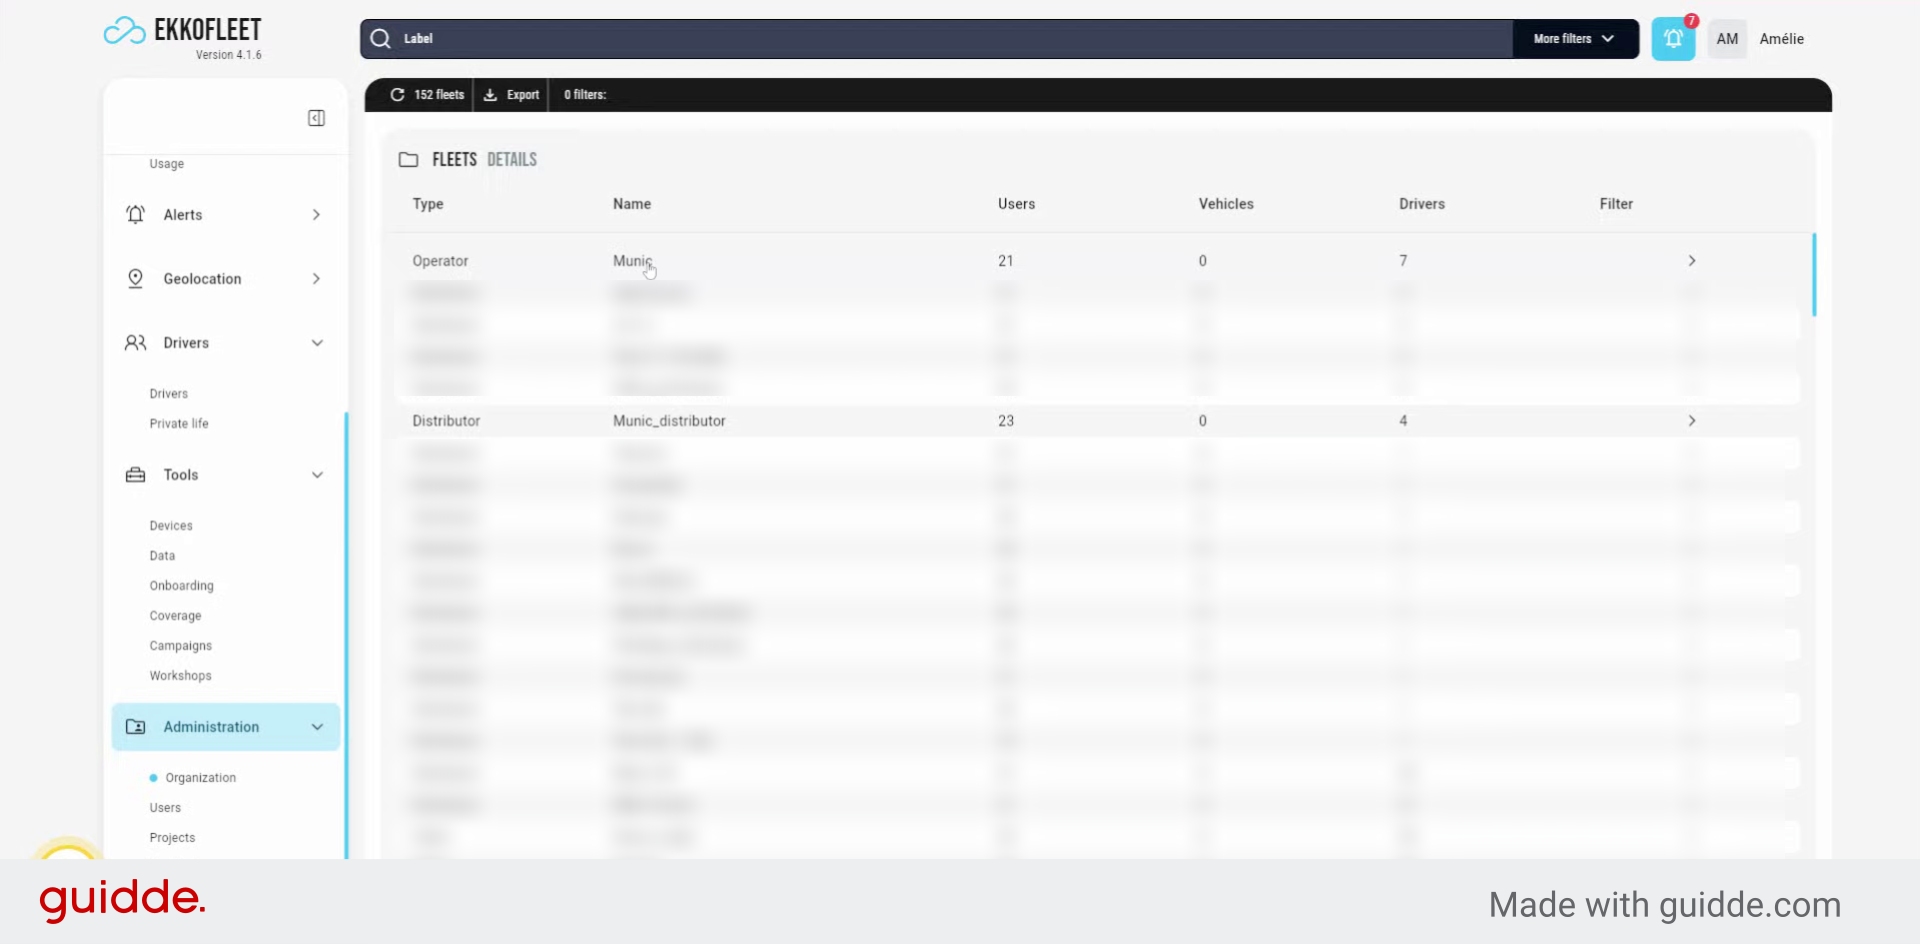
3. Choose the Appropriate Client
Select the correct client from the available options to proceed with creating a new client entry.
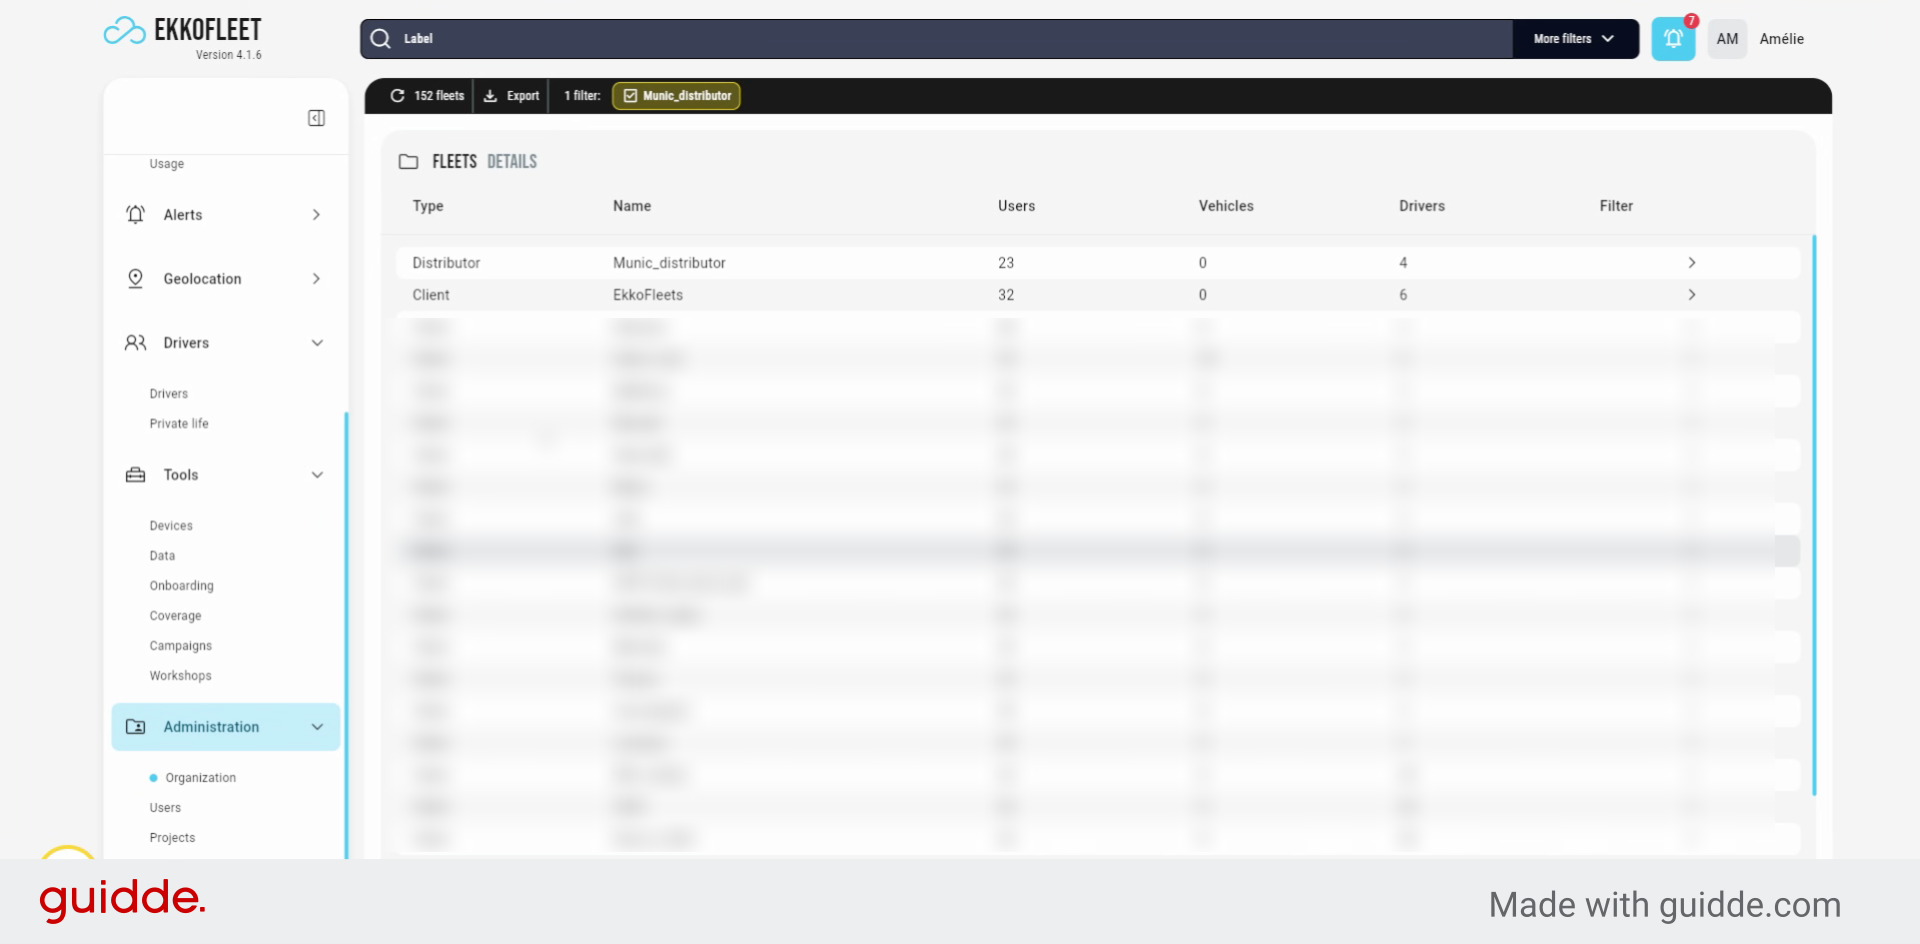
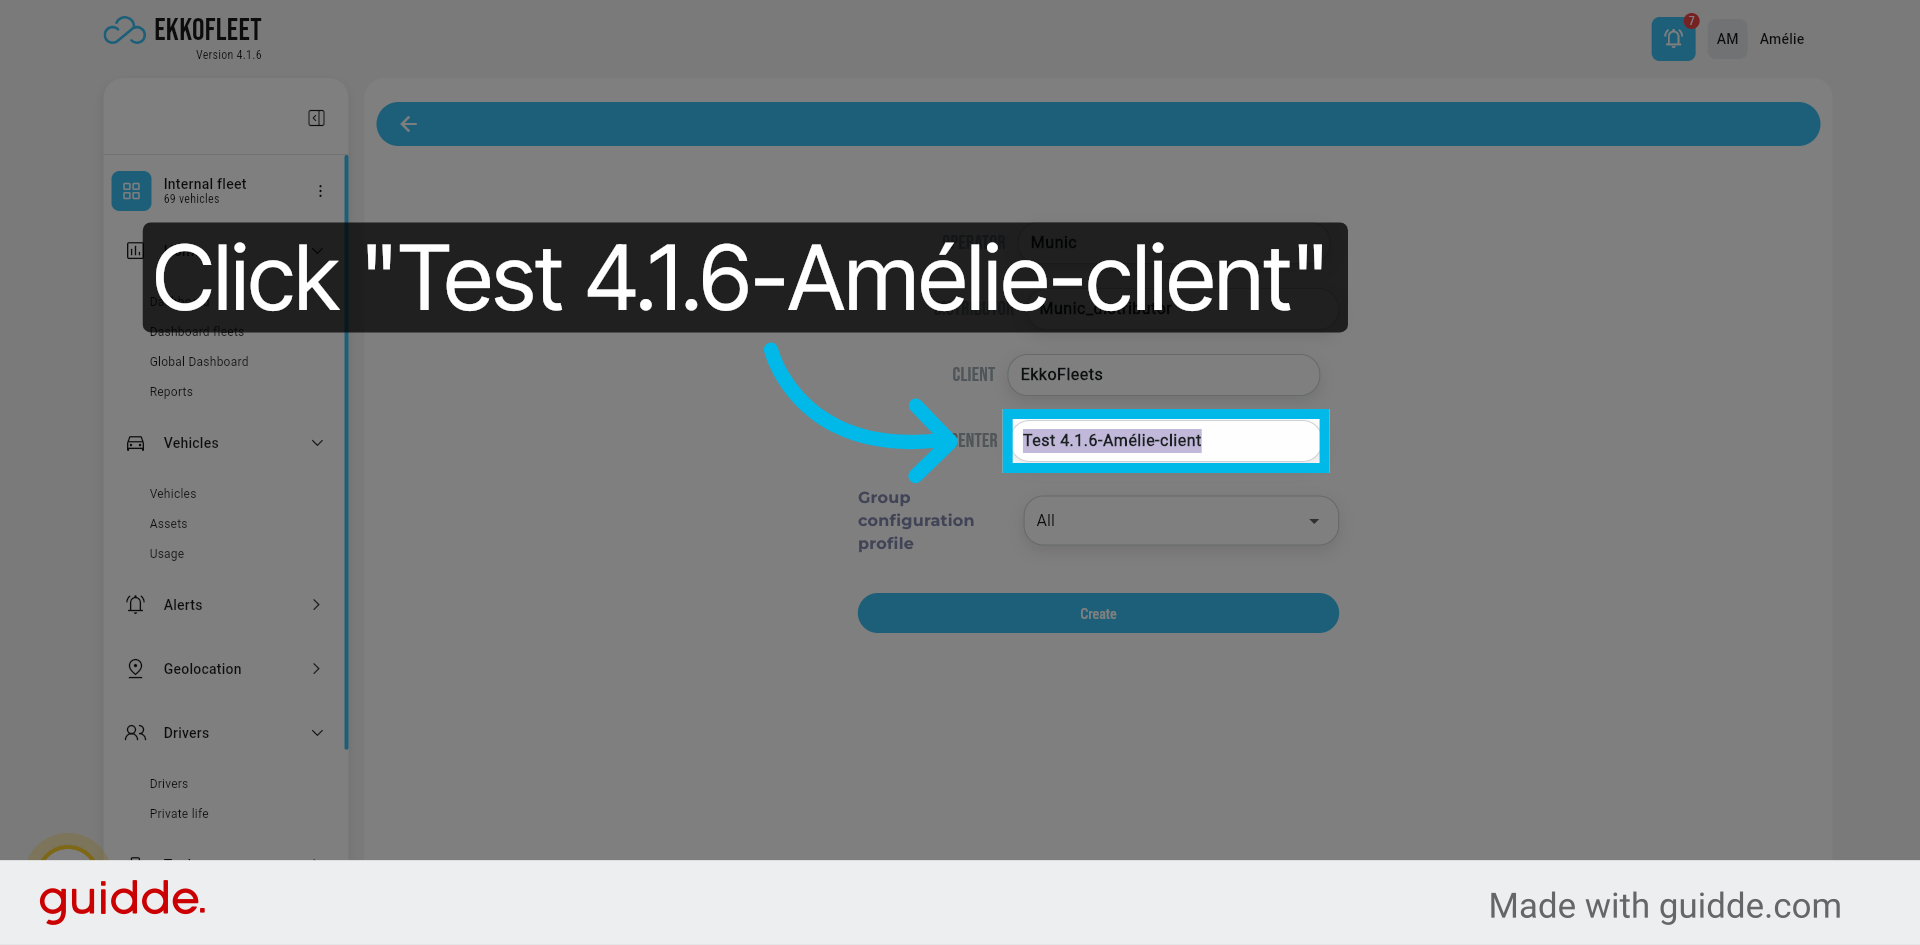
4. Access Client Creation Center
Here you will be able to create a new center when entering the client.
5. Select Existing Client Entry
Select the existing client entry to continue with the configuration process.
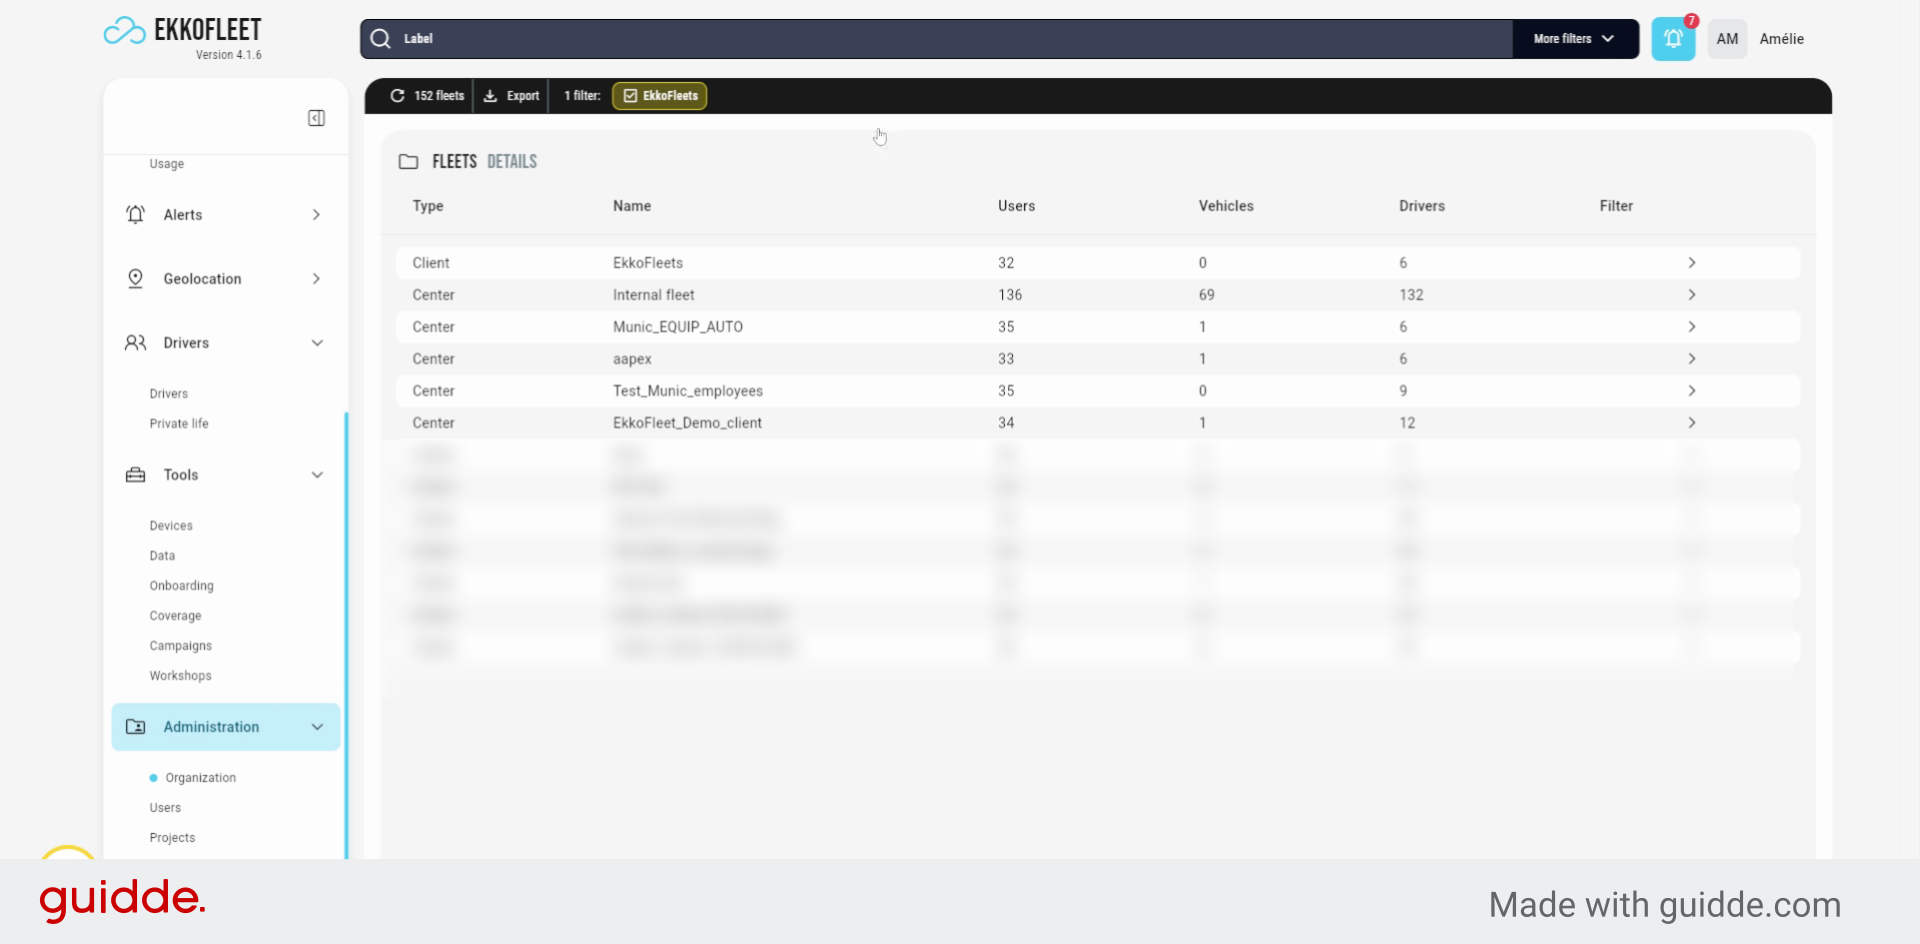
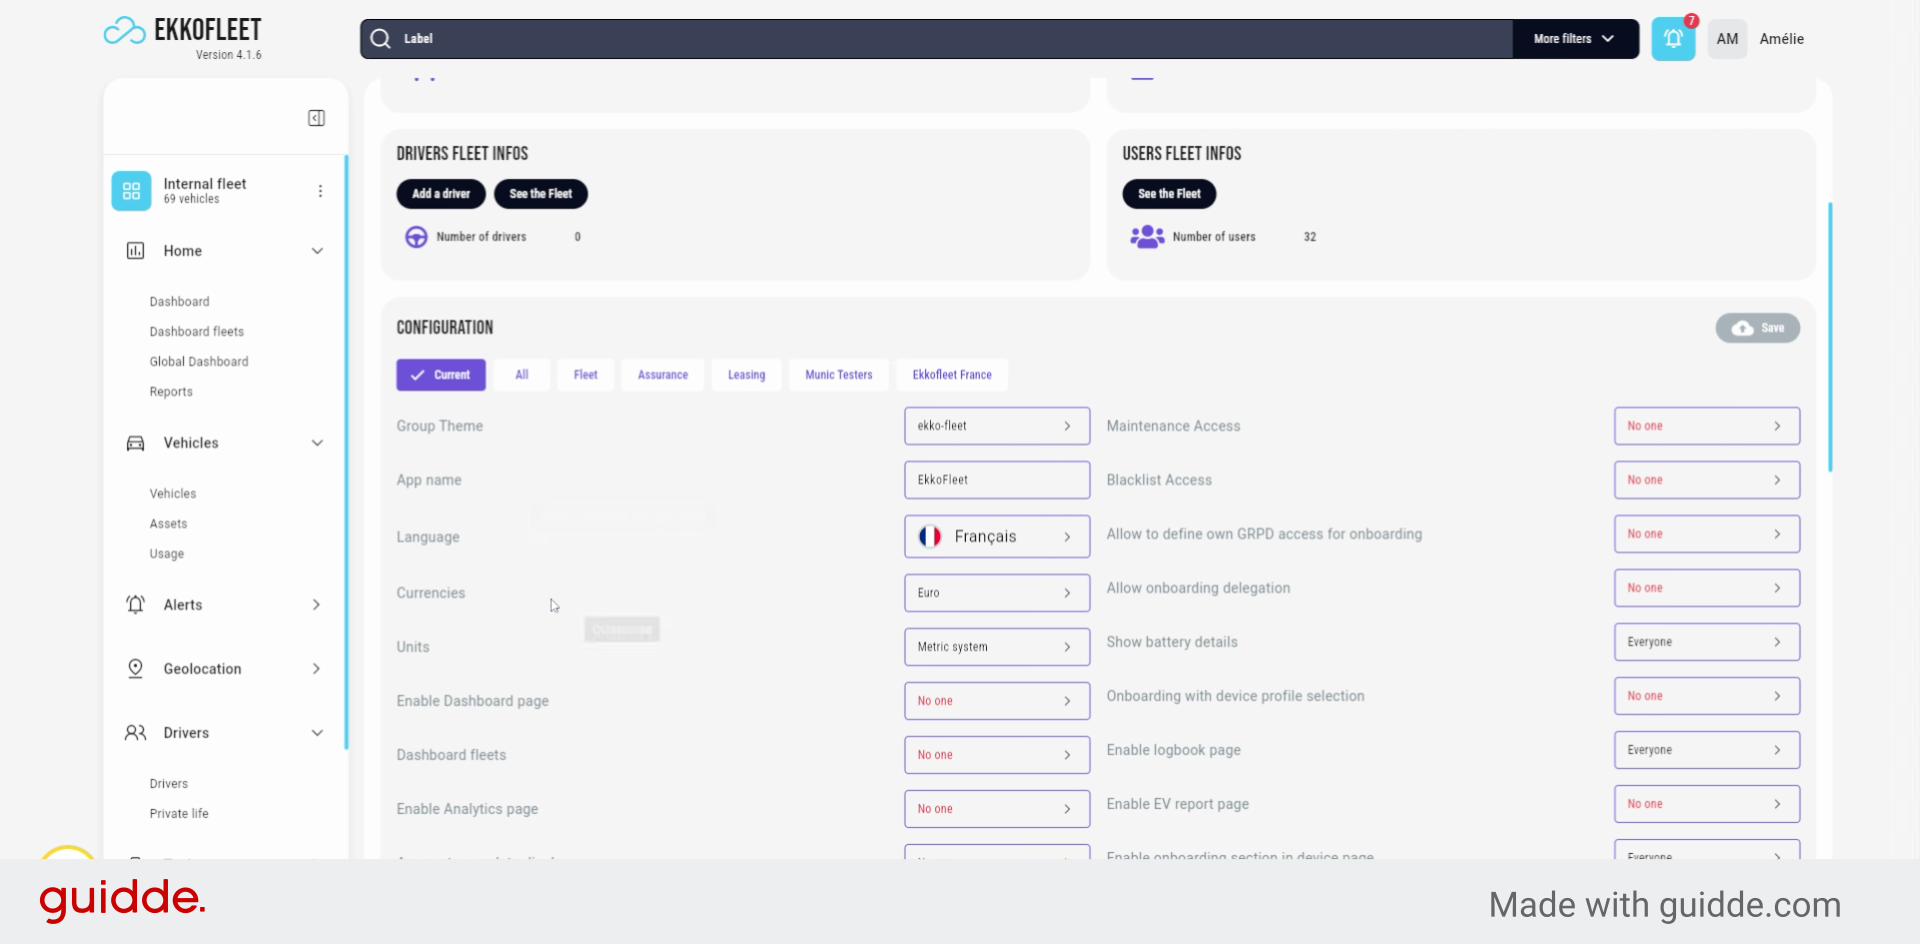
6. Prepare Client Configuration
Prepare to configure the client by selecting the appropriate options for setup.
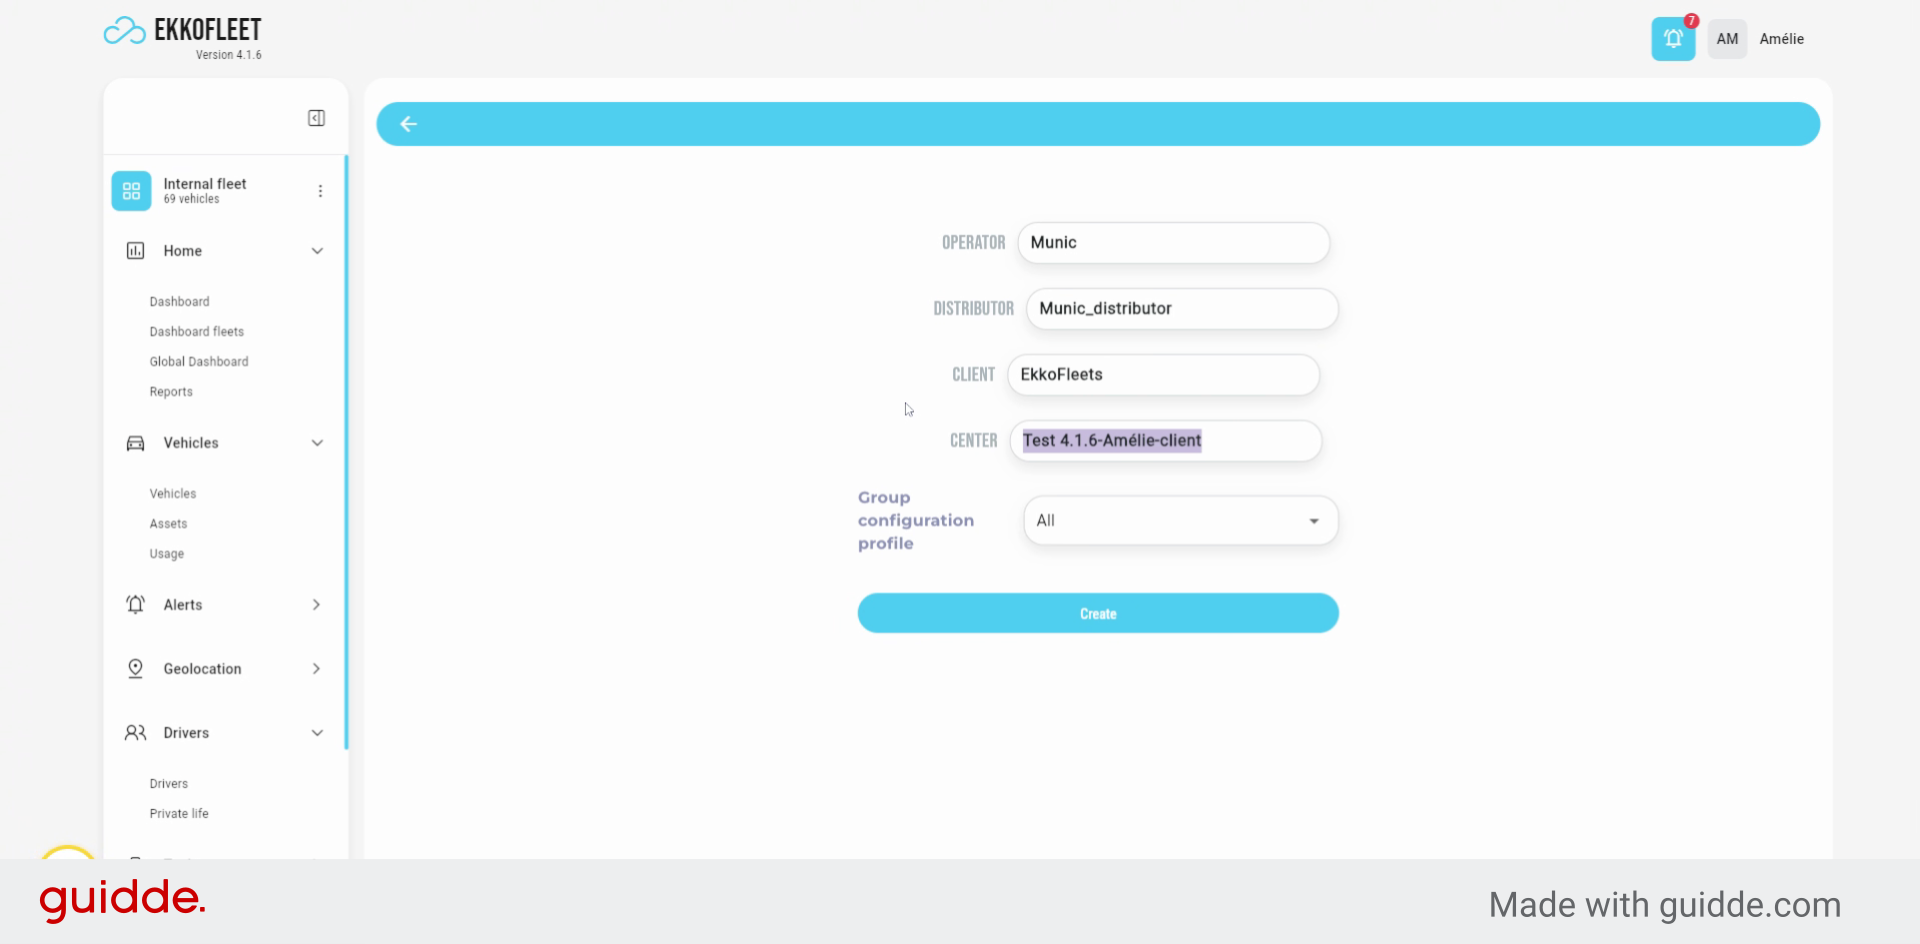
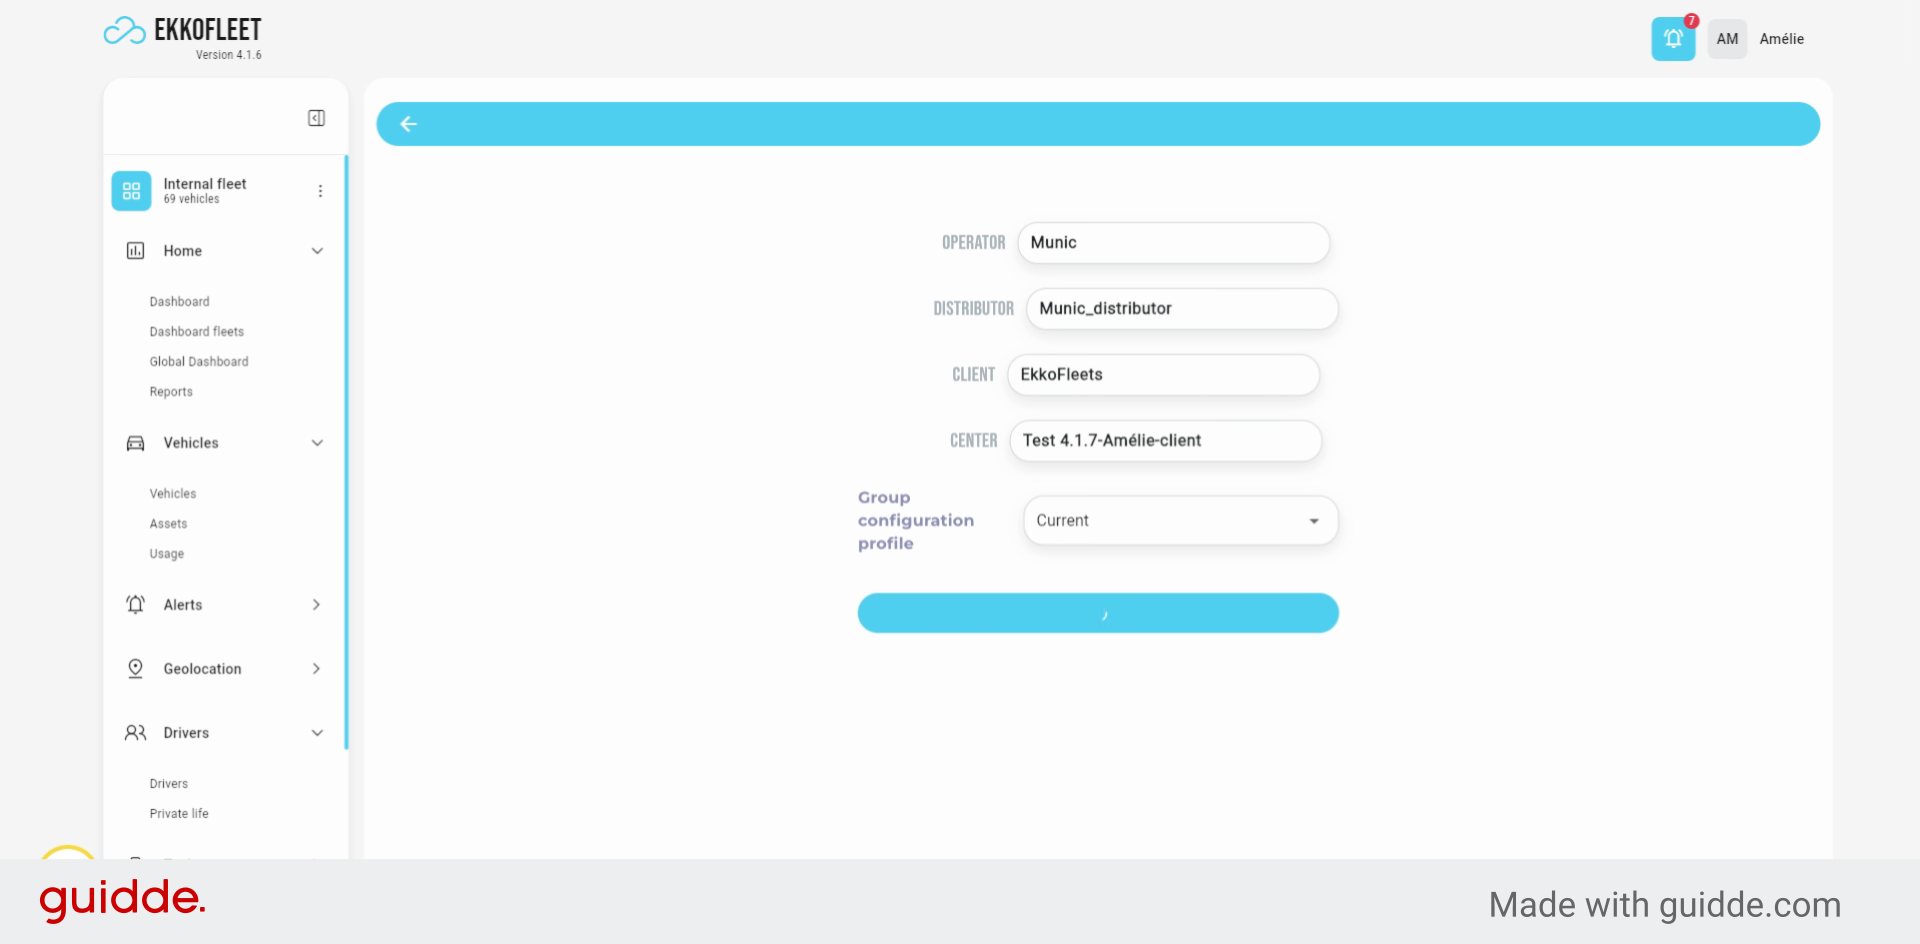
7. Apply Current Configuration Settings
You can choose current this way it will have the same configuration as you have for your over account and that is configured for your client.

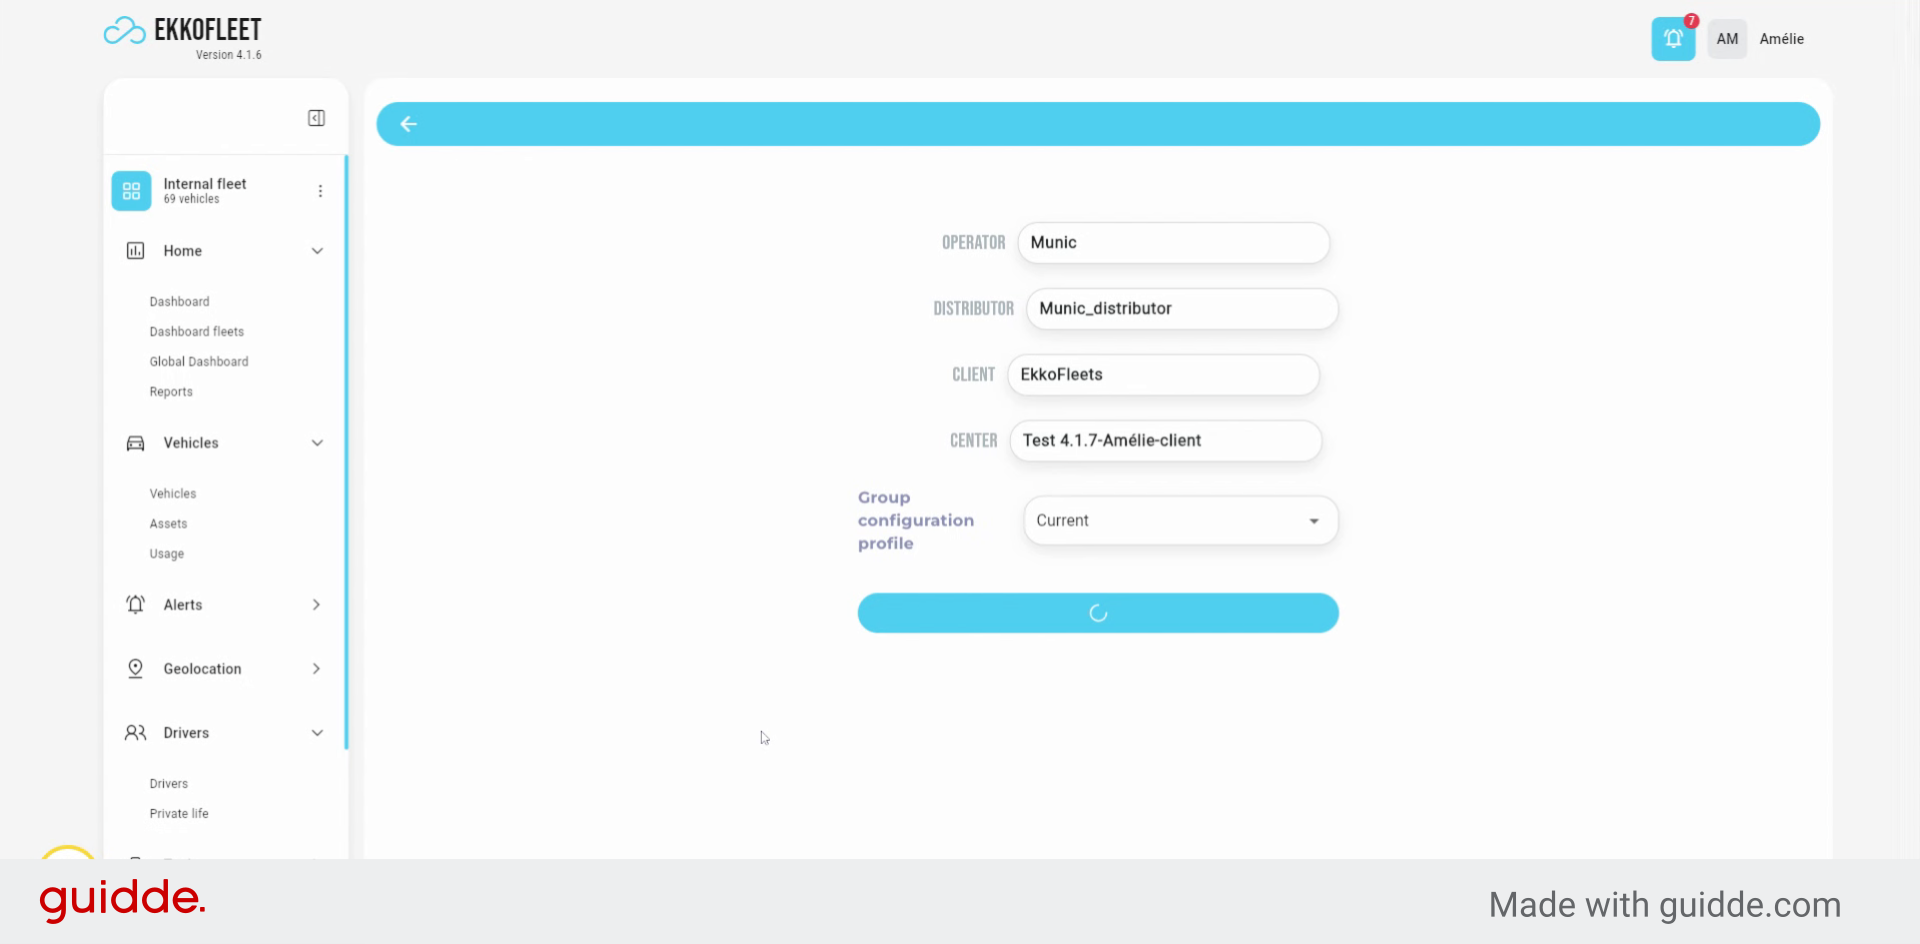
8. Create the New Client
You click create.
9. Wait for New Page to Load
After a few seconds. It will open. A new page.
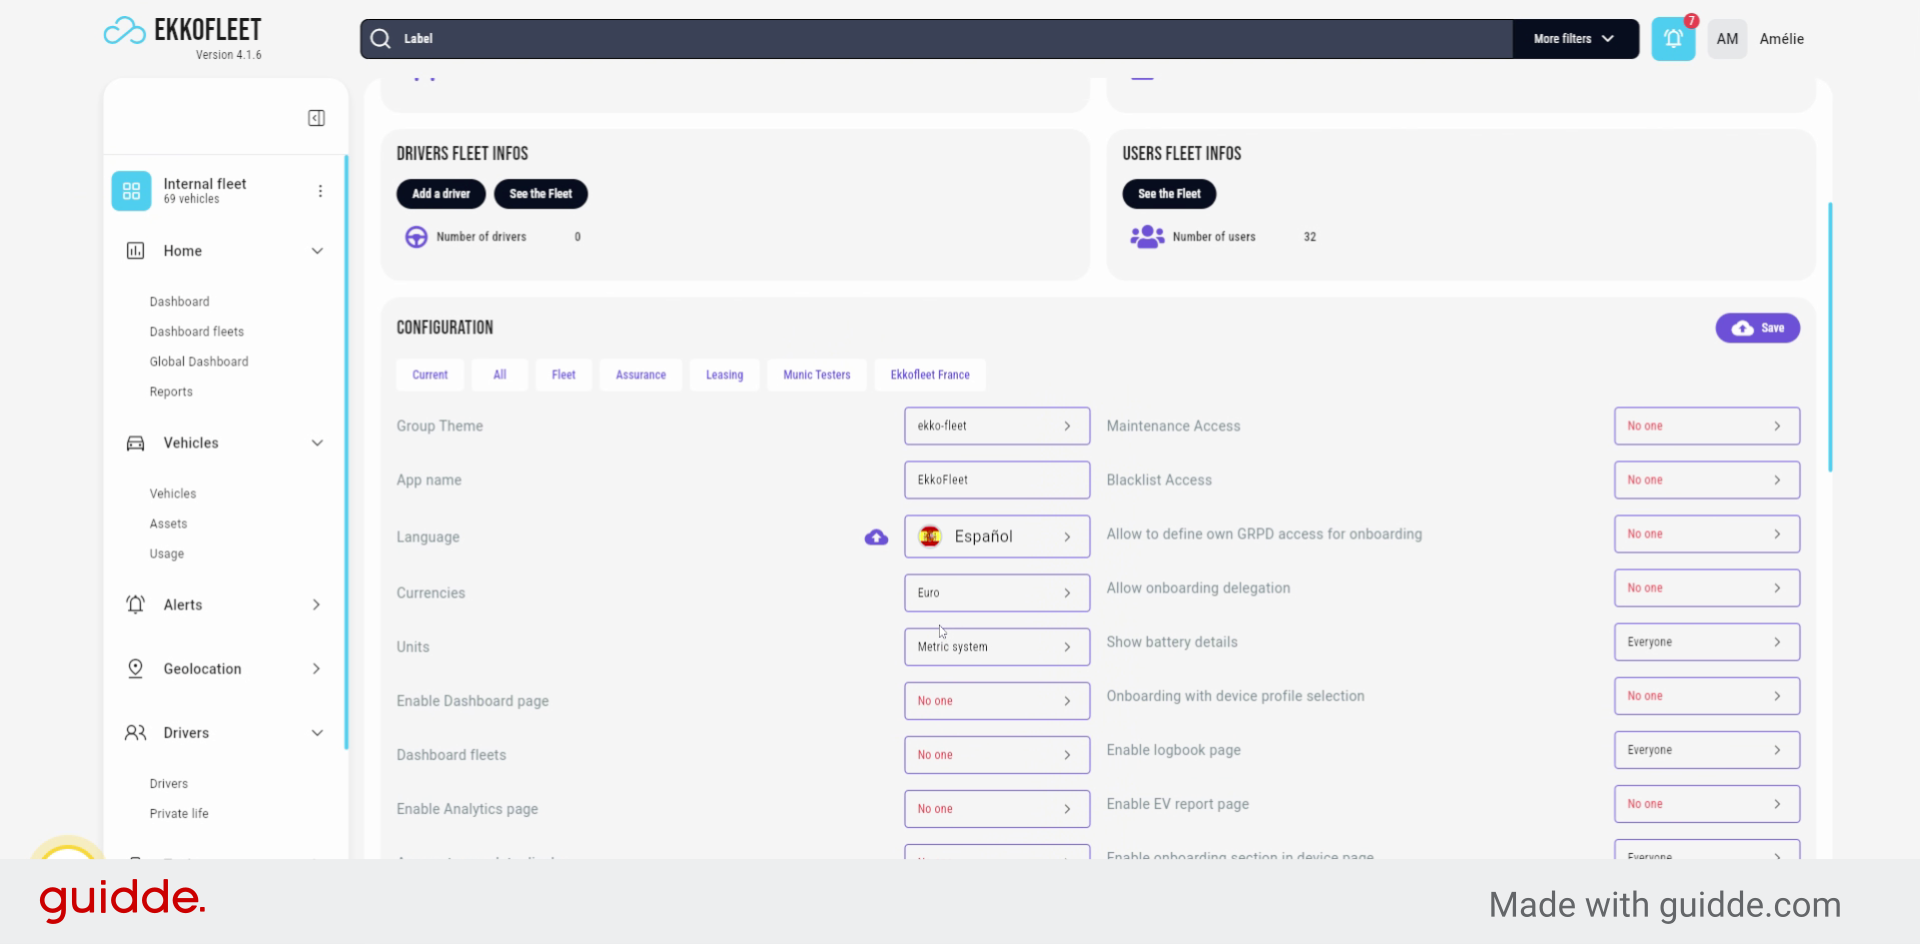
10. Modify Configuration if Needed
Here you will be able to change the configuration if needed. so, for example,
11. Change Language Settings
You can choose to change the language between these 2 Spanish, Etc.

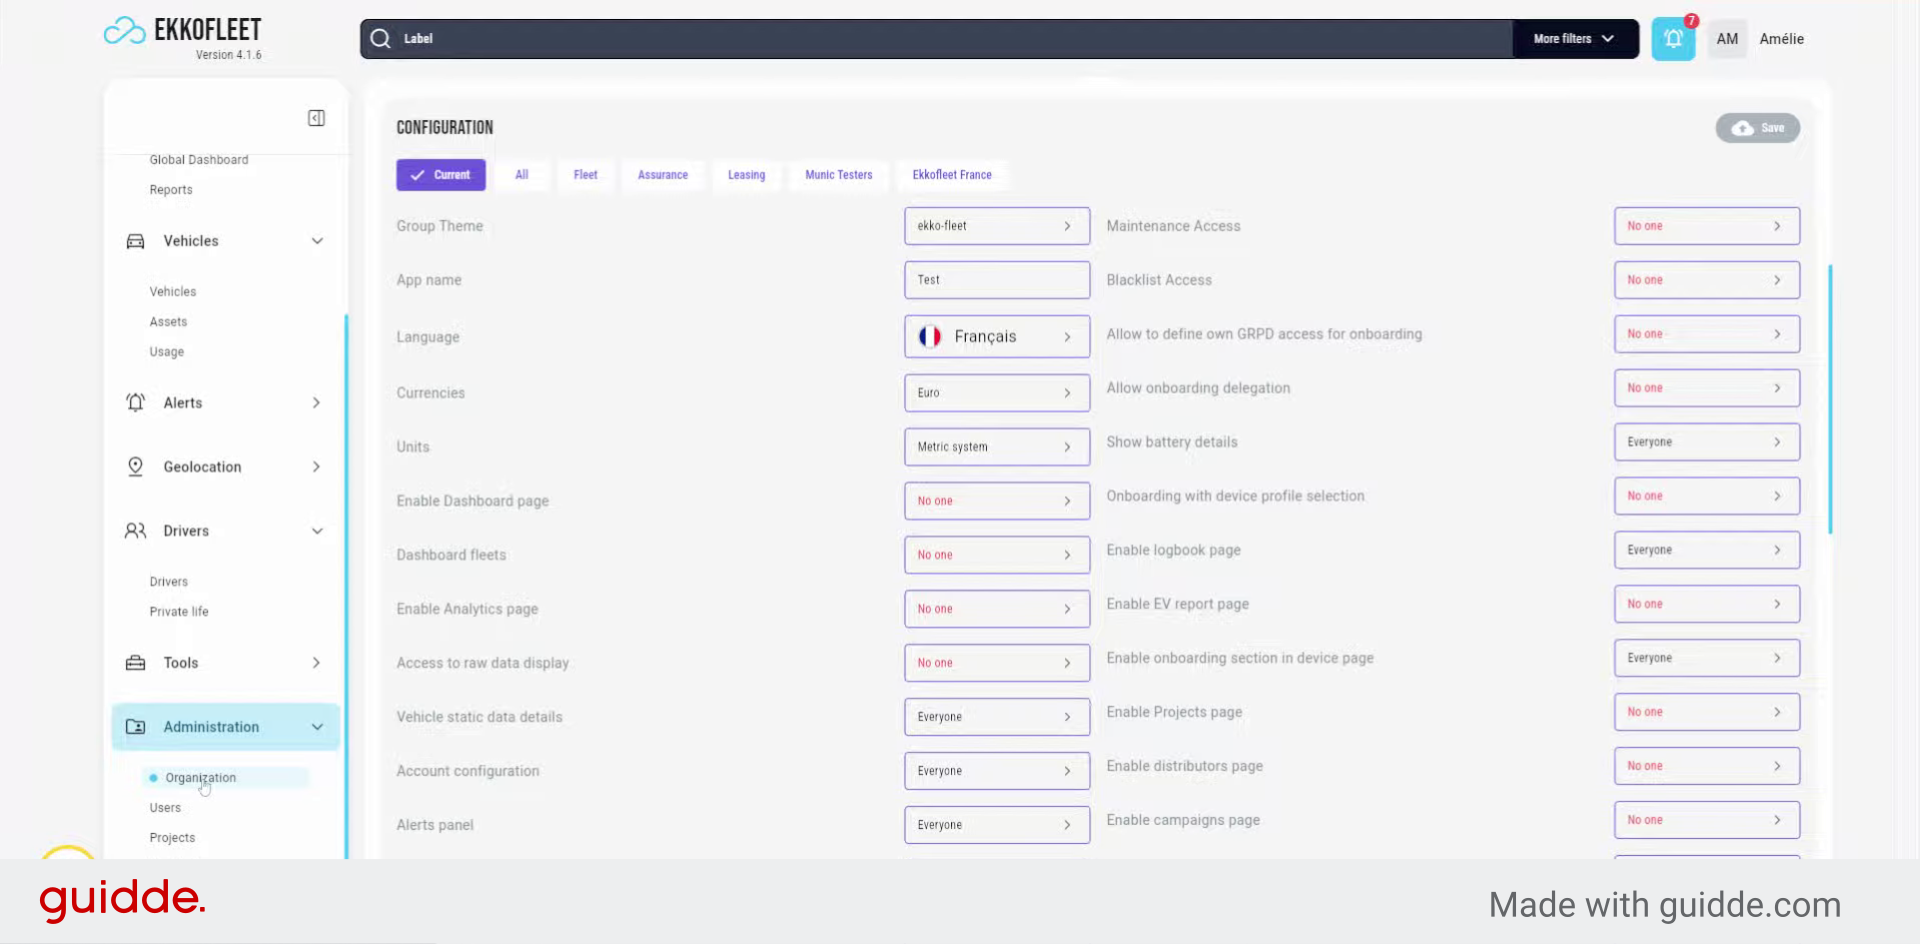
12. Enable or Disable Widgets
Same for recurrence here, you need enable disabled Pages. For example, if you don't want to have the fuel related, widget in analytics dashboard,
13. Save Configuration Changes
And then save the changes.

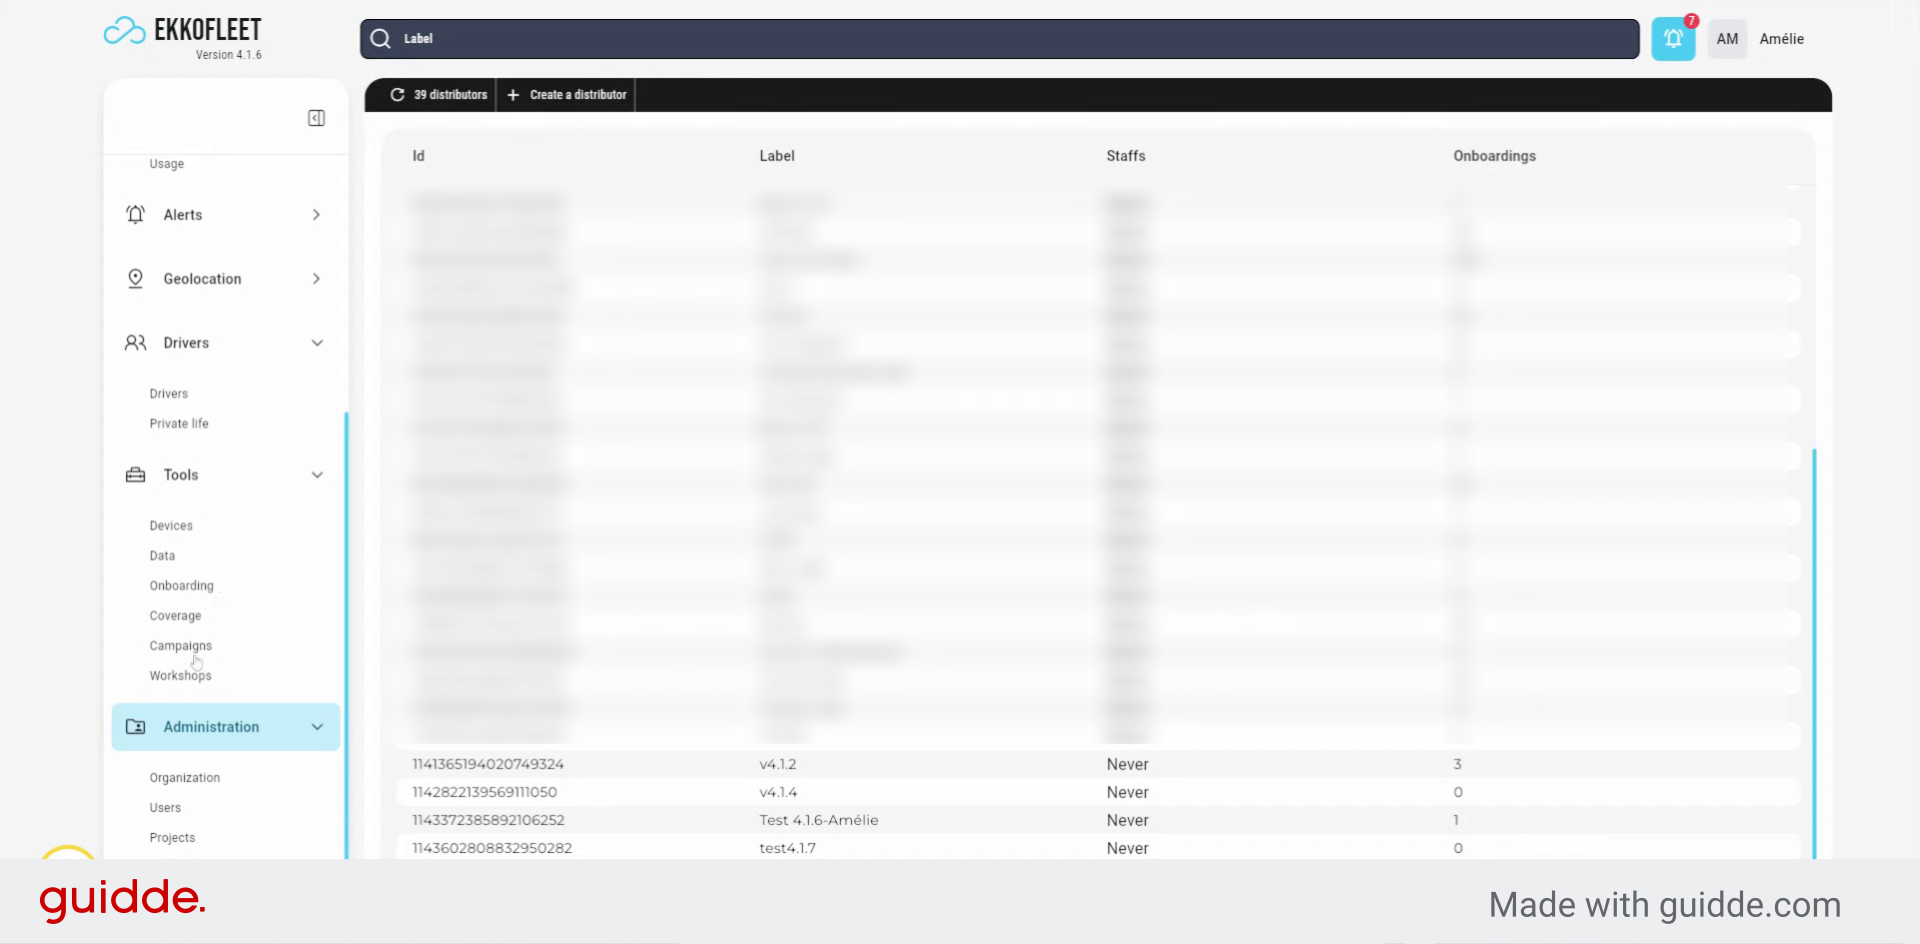
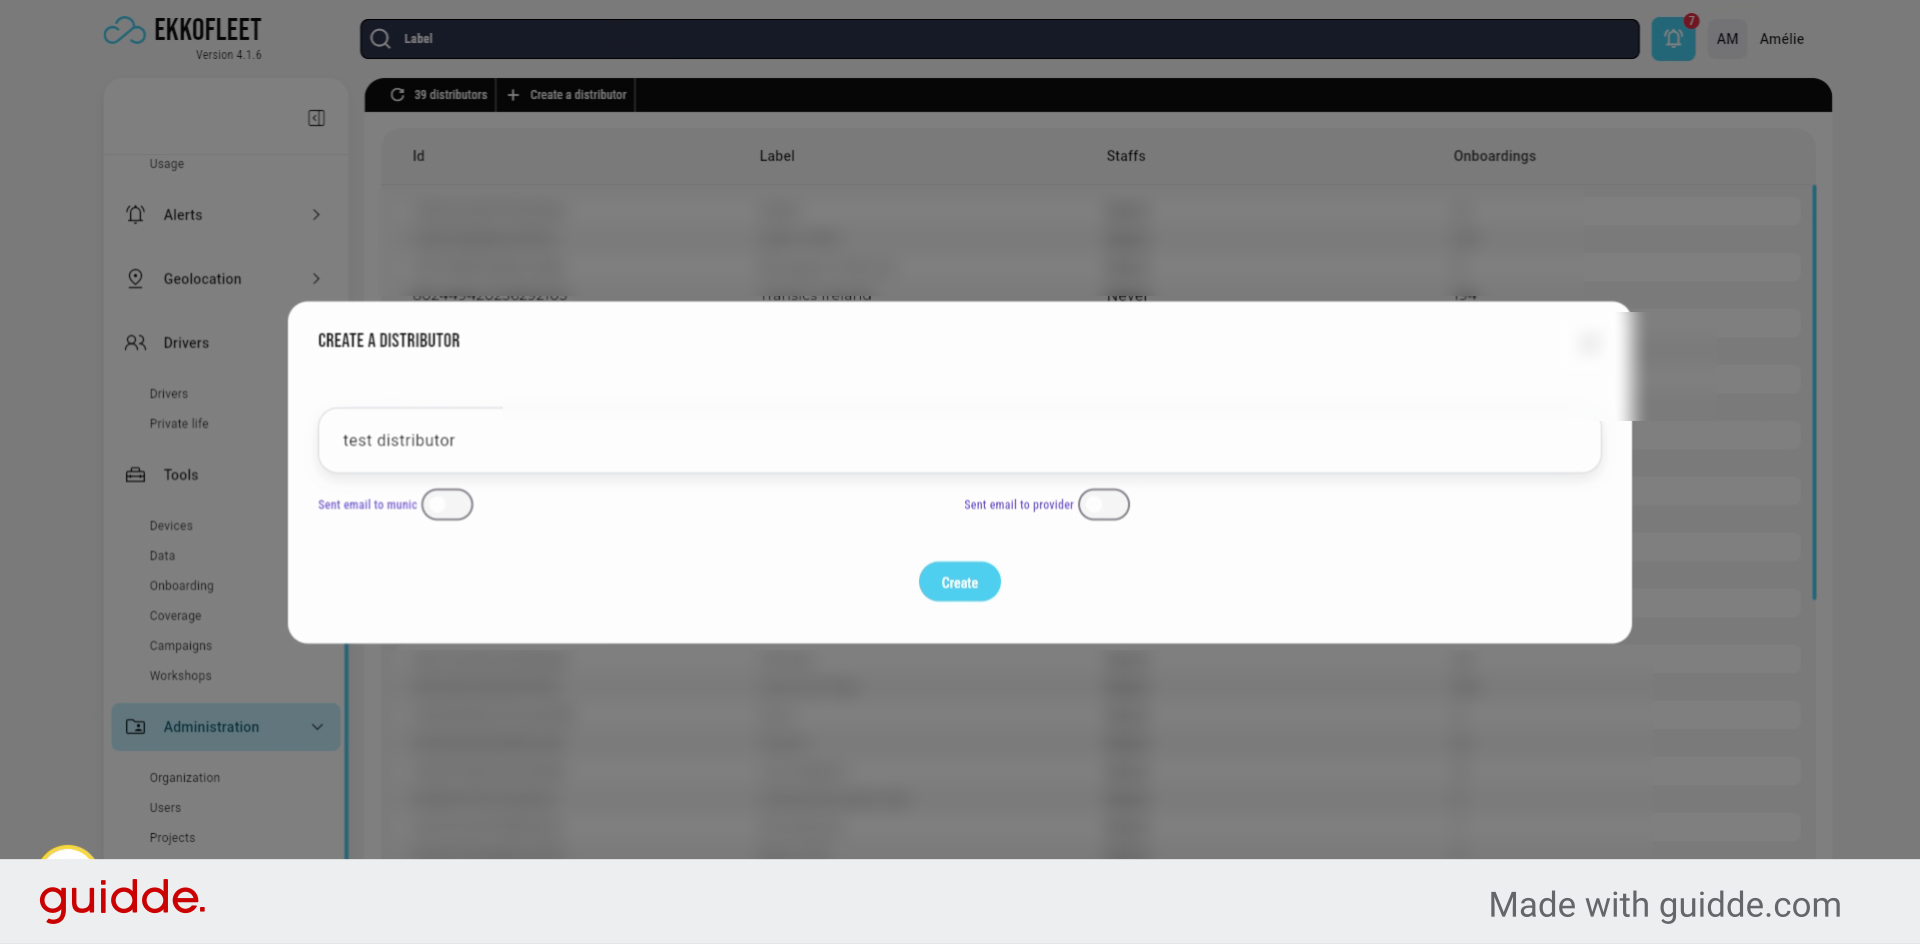
14. Create a Distributor (1)
Now, organization has been created. You can create a distributor
15. Create a Distributor (2)
Now, organization has been created. You can create a distributor
16. Prepare for Device Installation
It will allow your customer to install the devices on his own.

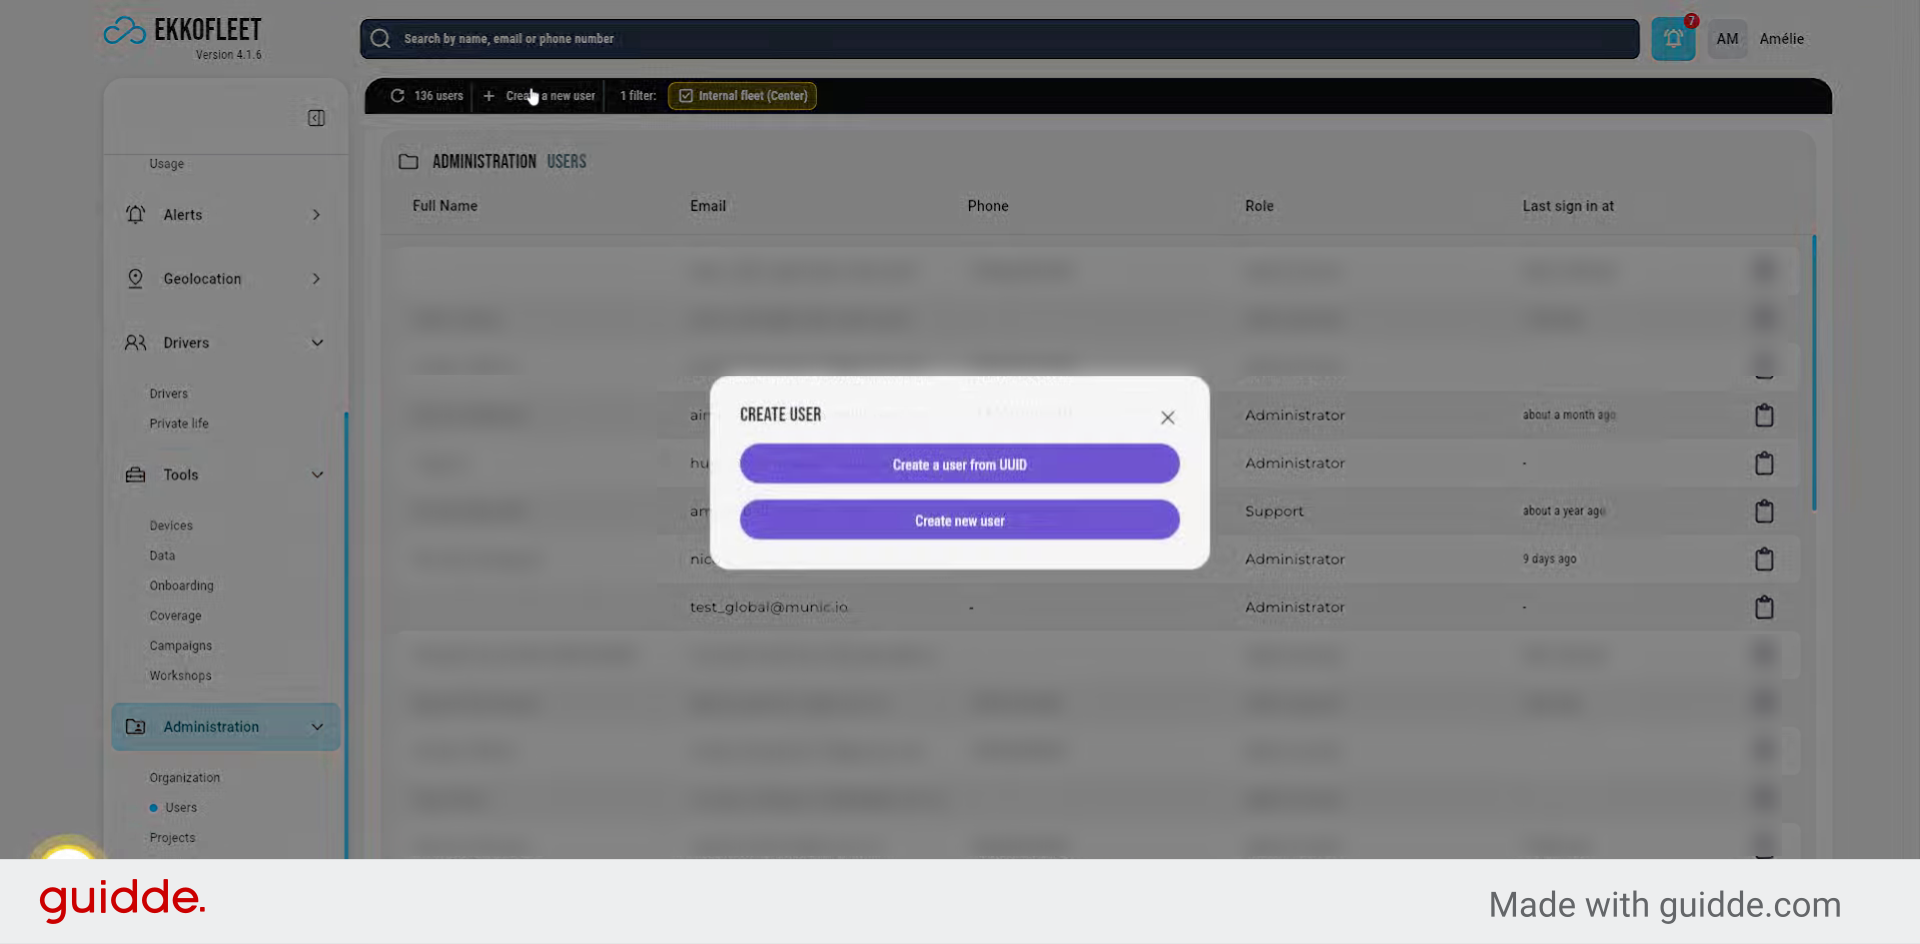
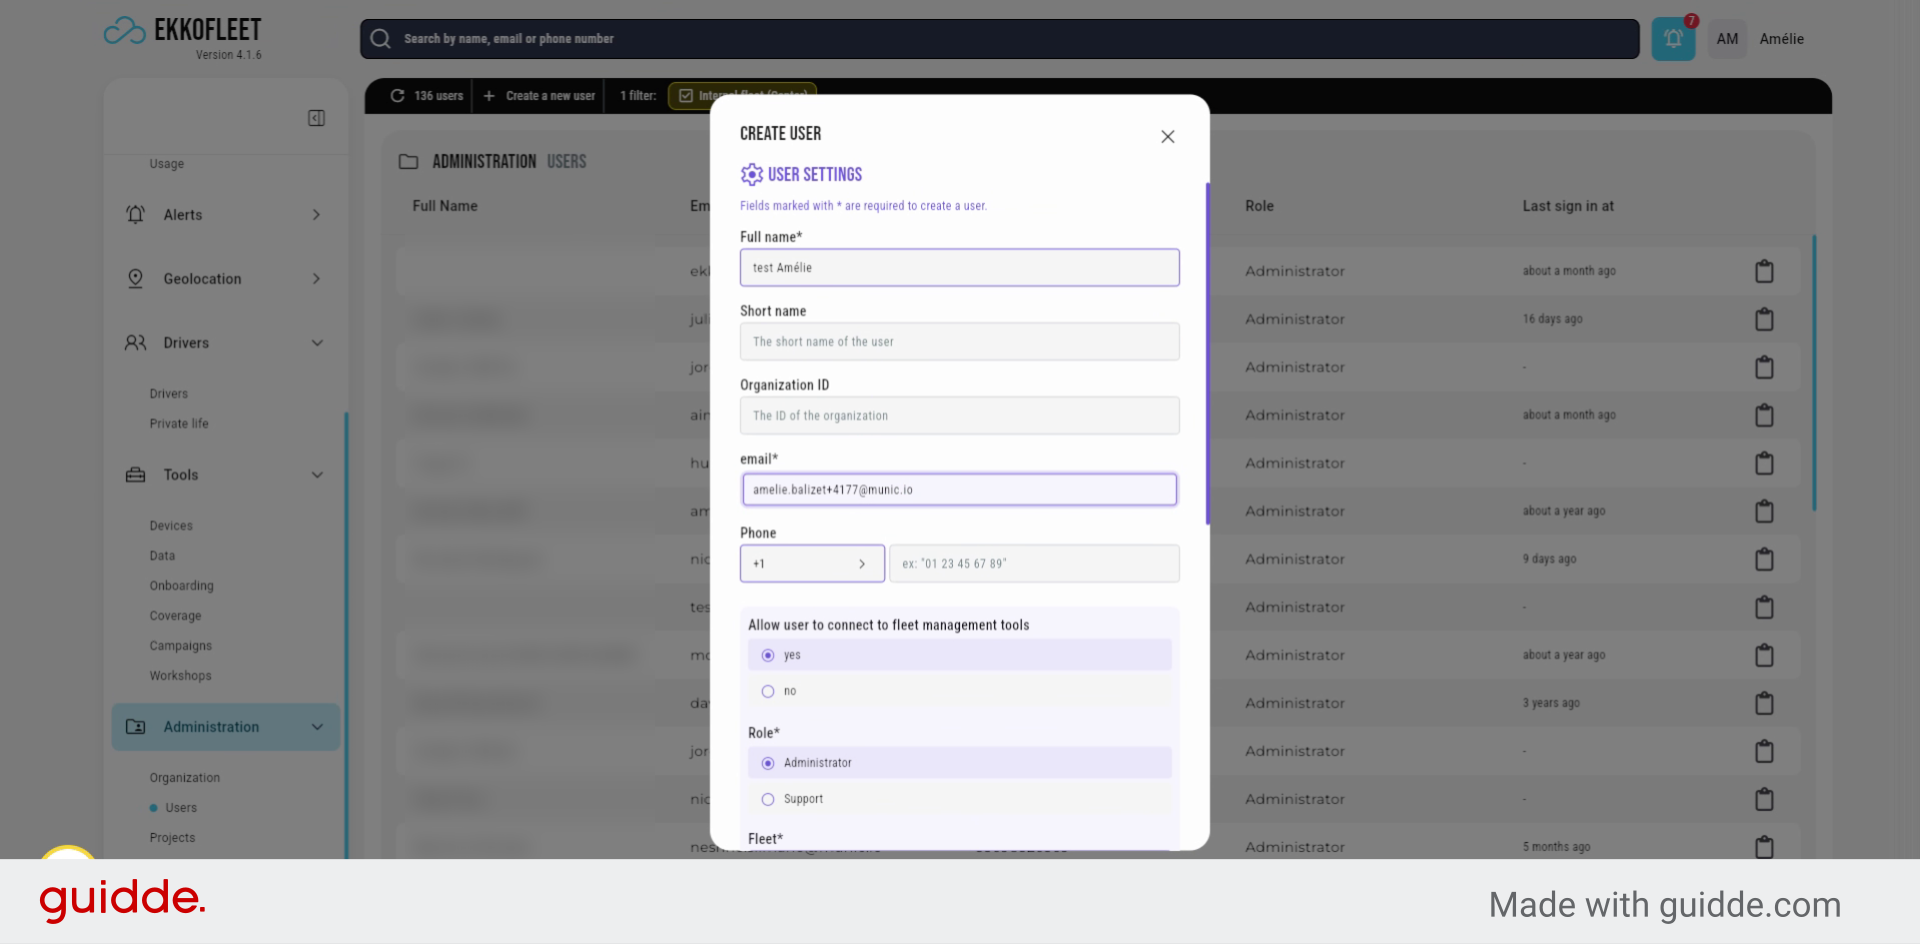
17. Create a New User (1)
now, you can create a user to just go to the user table, you create a new user, this way and you enter the name of a customer.
18. Enter Distributor Name
Enter the distributor name.
19. Create a New User (2) (1)
now, you can create a user to just go to the user table, you create a new user, this way and you enter the name of a customer.

20. Create a New User (2) (2)
now, you can create a user to just go to the user table, you create a new user, this way and you enter the name of a customer.
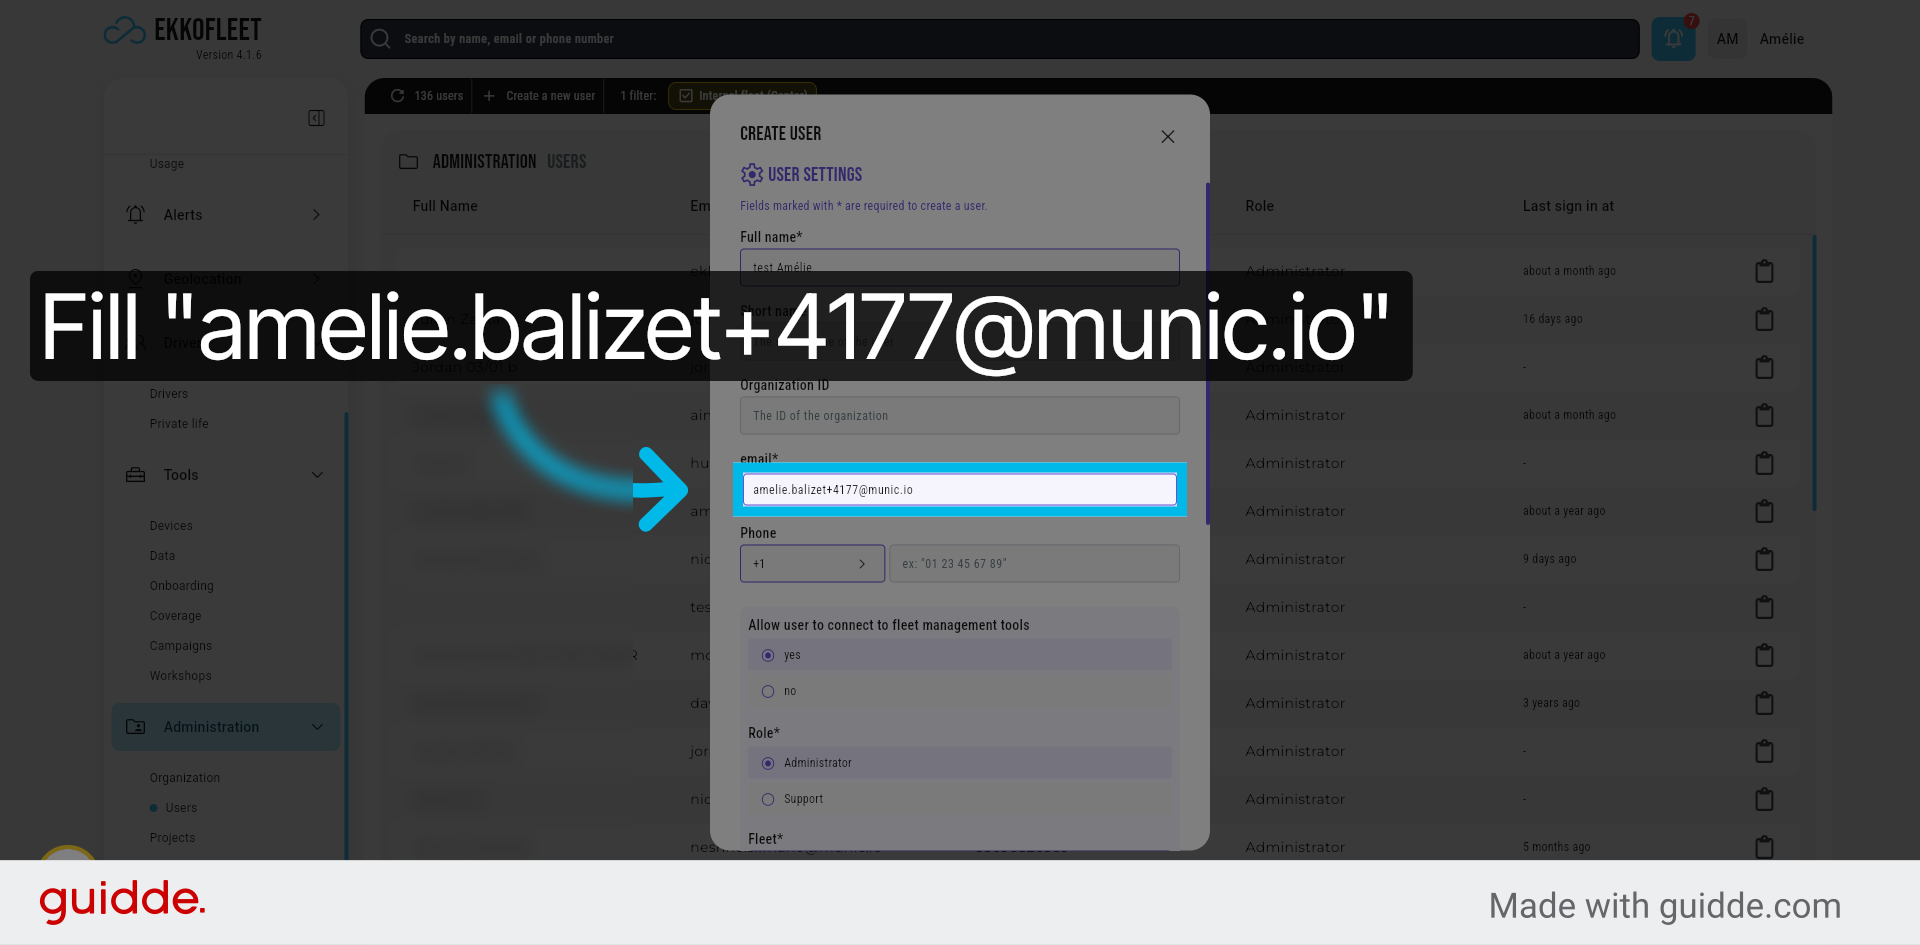
21. Enter User Name
Enter the user's name.

22. Enter User Email Address
Enter your email address.
23. Notify User of Account Access
You will then receive an email. To access the account. Please, be careful with the fleet you need to to be on the fleet you created.
24. Confirm Fleet Selection
so, in this case,
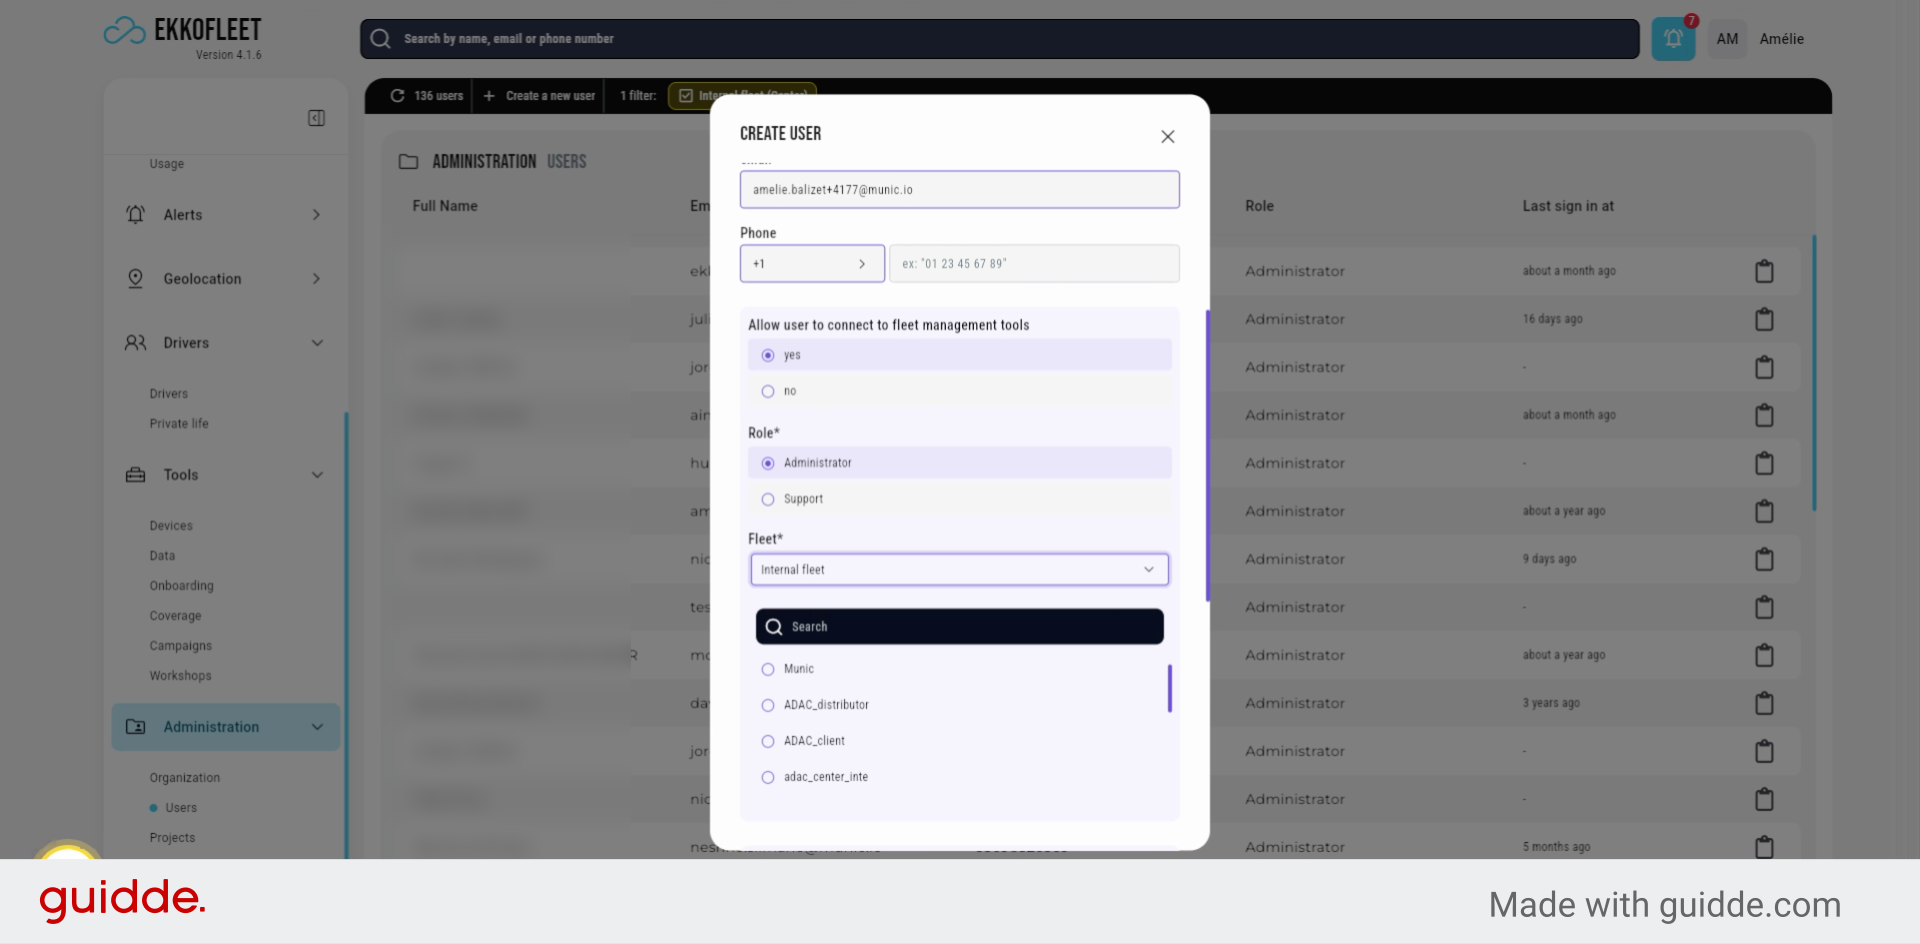
25. Enter Distributor Identifier
Enter the distributor identifier.
26. Select Appropriate Distributor
Choose the right distributor as well. This way, you will be able to install the devices directly in his Fleet.
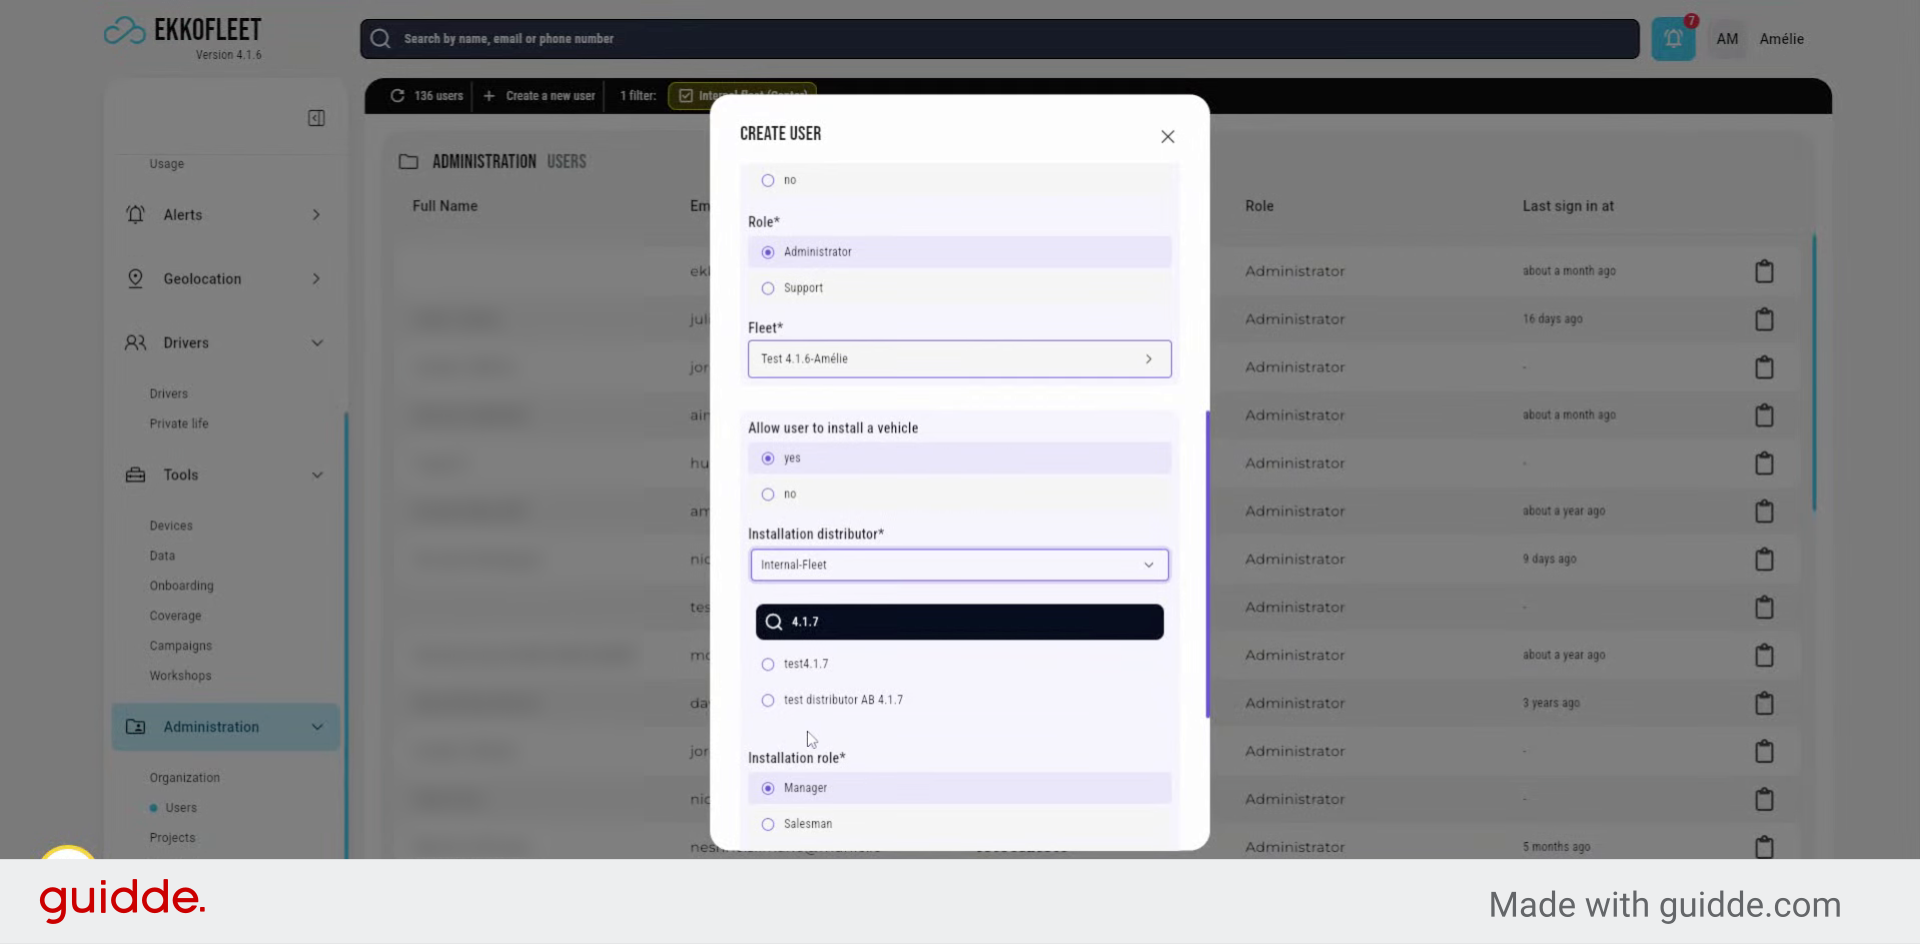
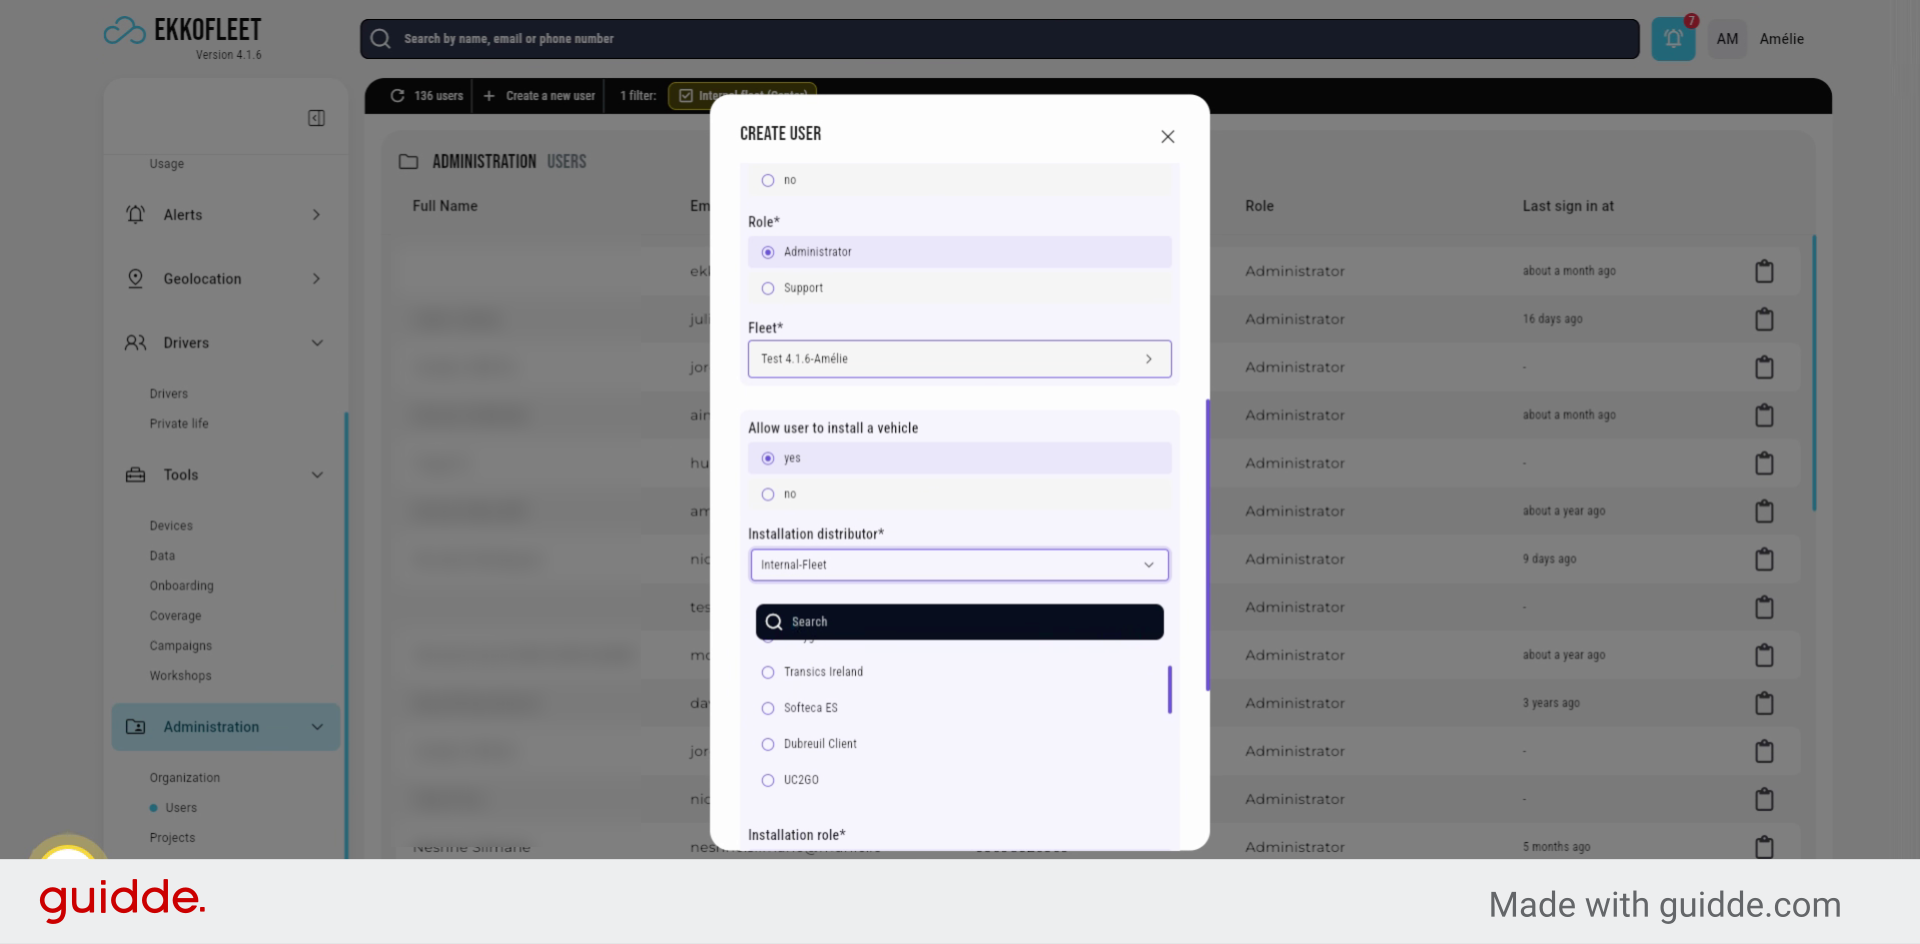
27. Set Mobile App Access
You need to be a manager to do the installation. If you want to Grant him access to the mobile app you click. Yes. Otherwise you click now.
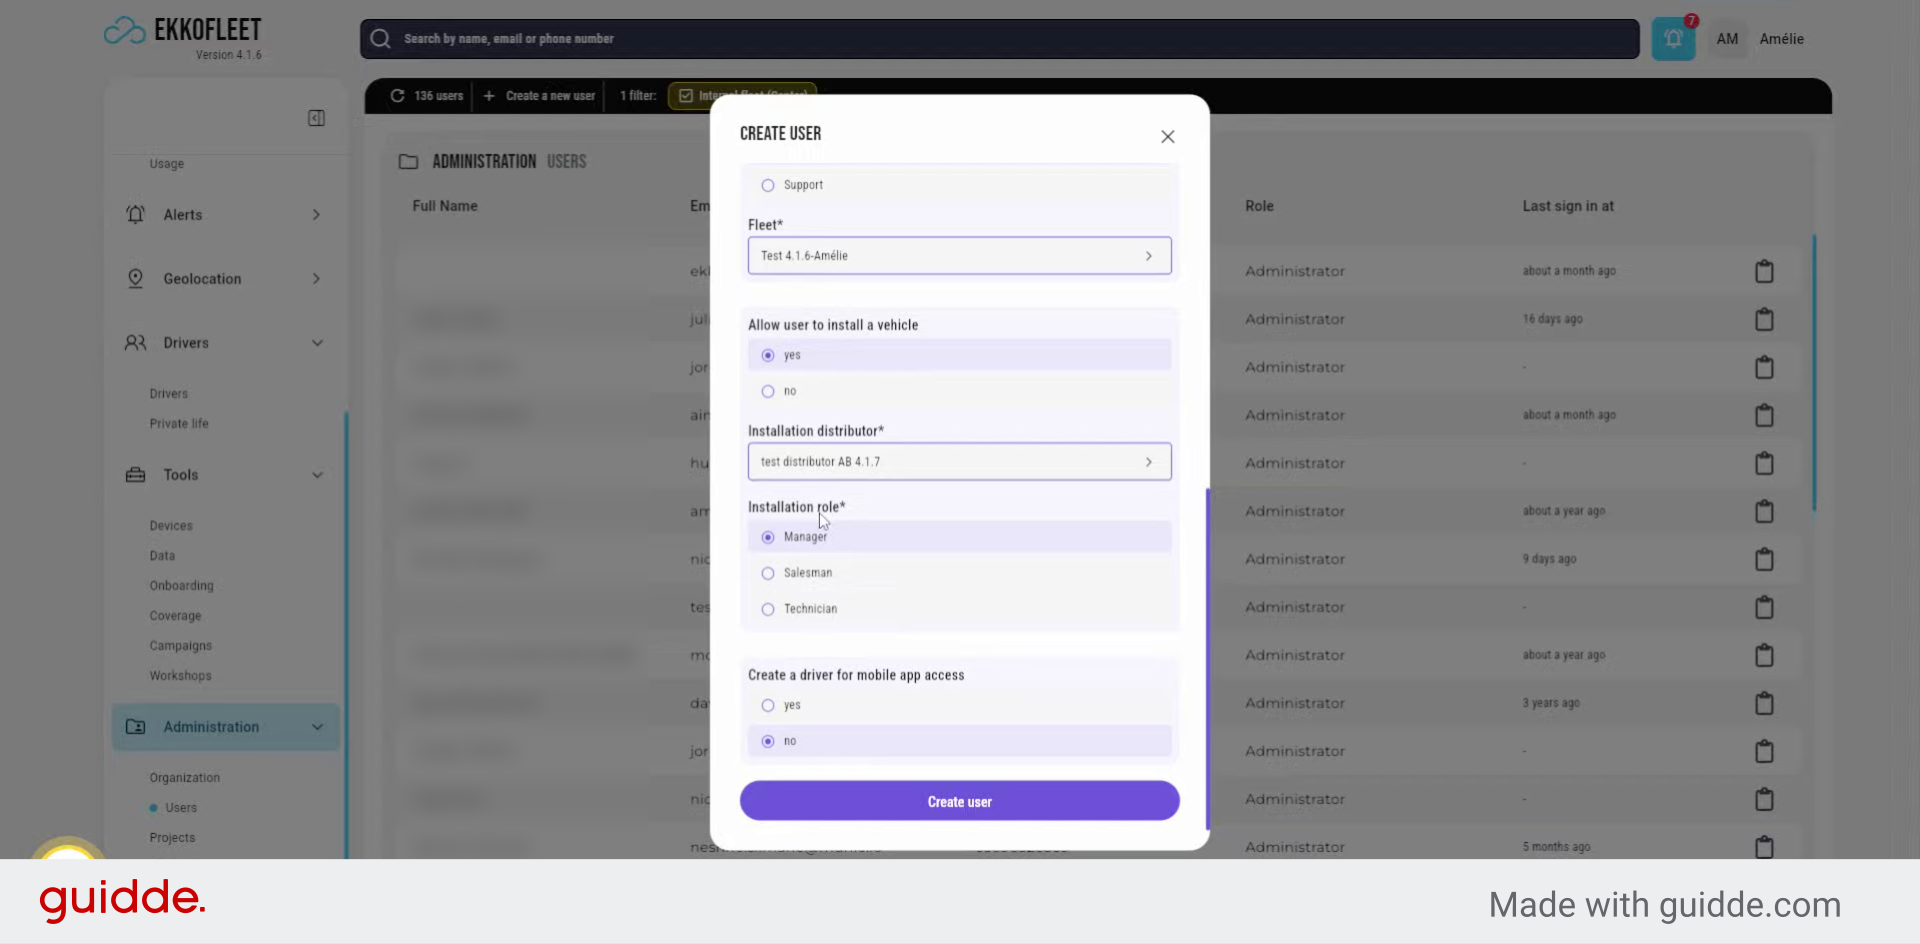
28. Create the User Account
Create user. The new user will then receive within a few minutes. Is credential.

This article guided you through creating a new client, configuring settings, adding distributors, and setting up users to manage fleets effectively. For more information, see related articles on client management and user administration.